
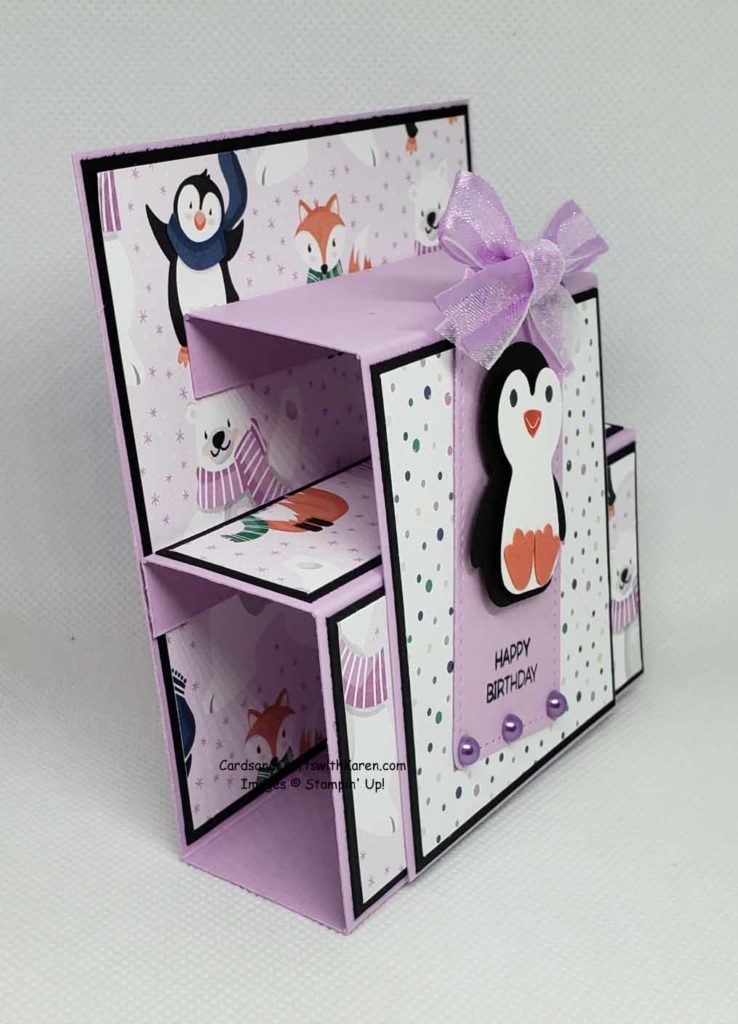
When I introduced the new mini catalog last week, I shared a photo of a card made with the Penguin Place Bundle, today I thought I would explain how to make the card.
Step Panel Card with Front Panel
Measurements for the card:
- Main Panel Card stock – 4¼” x 9¼”, scored at ½” – 1¾” – 3¾” – 5″
- Front Panel Card stock – 3″ x 5″, scored at ½” and 1¾”
- Designer Series Paper Main Panel – 4″ x 4″, 4″ x 1¾”, 4″ x 1″ and Front Panel – 2¾” x 3″

Hints for putting the card together:
- Add Designer Series Paper first, if you want a card stock mat border just cut the card stock 1/8″ longer on both the width and length
- Once you burnish all score marks, dry fit (no adhesive) the designer paper and you will know where the adhesive goes (Tear & Tape)
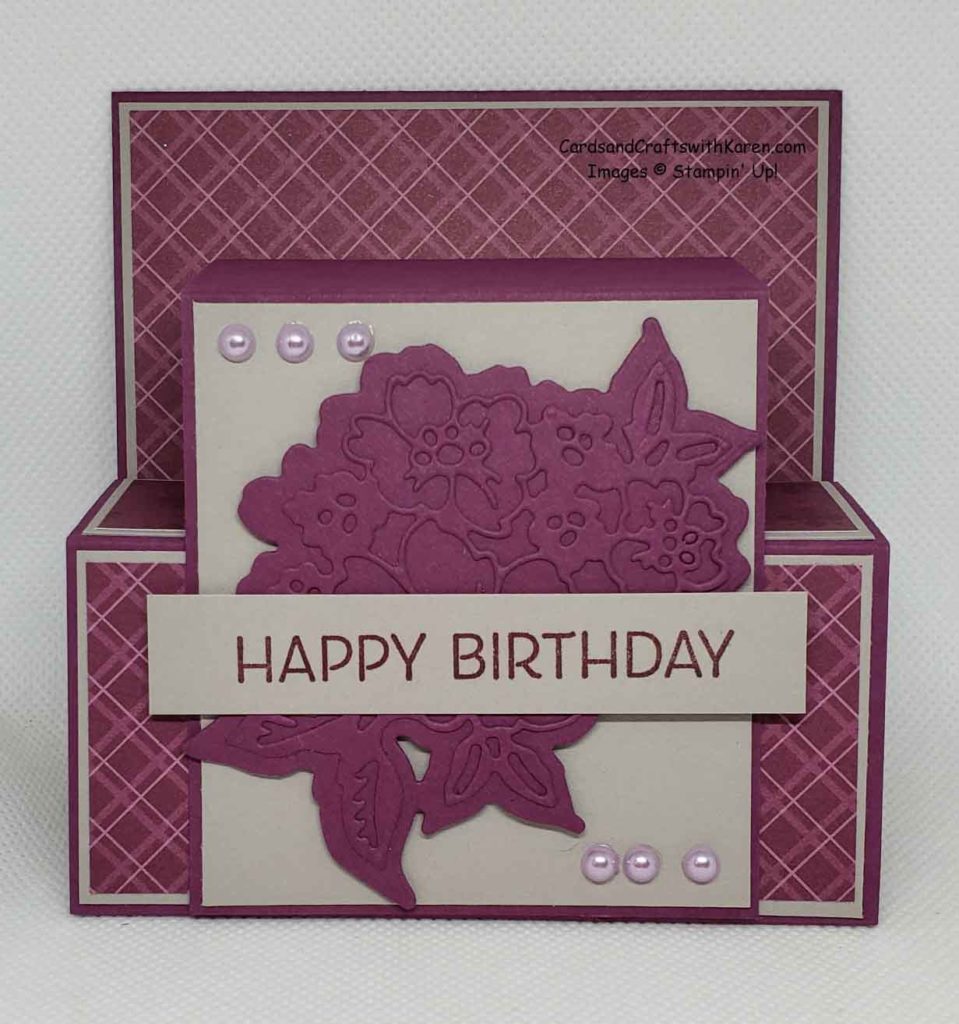
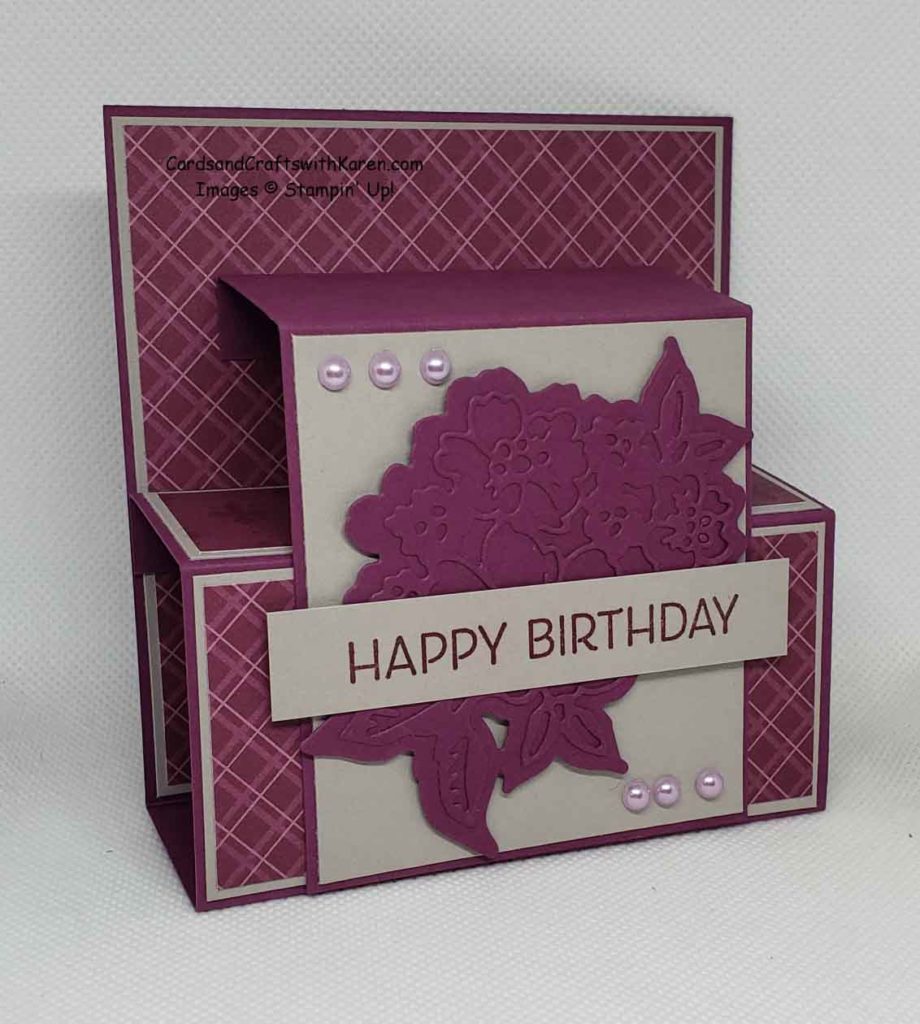
Here is another card made using the colors Rich Razzleberry and Smoky Slate, along with paper from the Regals Collection 6″ x 6″ Designer Series Paper. Hand-Penned Bundle provided the dies used for the card.
Side view of the card:
Thank you for taking the time to stop by today, hope these projects have inspired you to try paper crafting. Should you decide to place an order for Stampin’ Up! products, I would appreciate your business.
Follow me on Instagram @cqueen309 and on Facebook at “Cards and Crafts with Karen”.
Click on any of the images below for more product information and to order directly from my on-line store.
Current Host code: 3V6W22C9
When shopping my online store, check demonstrator contact, then I can happily send you a re-useable card and the rewards you qualify for the following month. Check out the rewards tab for more information.
For orders is over $150, please use all of the Host Rewards you’ve earned, and I’ll send you your rewards as long as you check demonstrator contact.
Have a great day – Craft On! Happy Shopping!
