
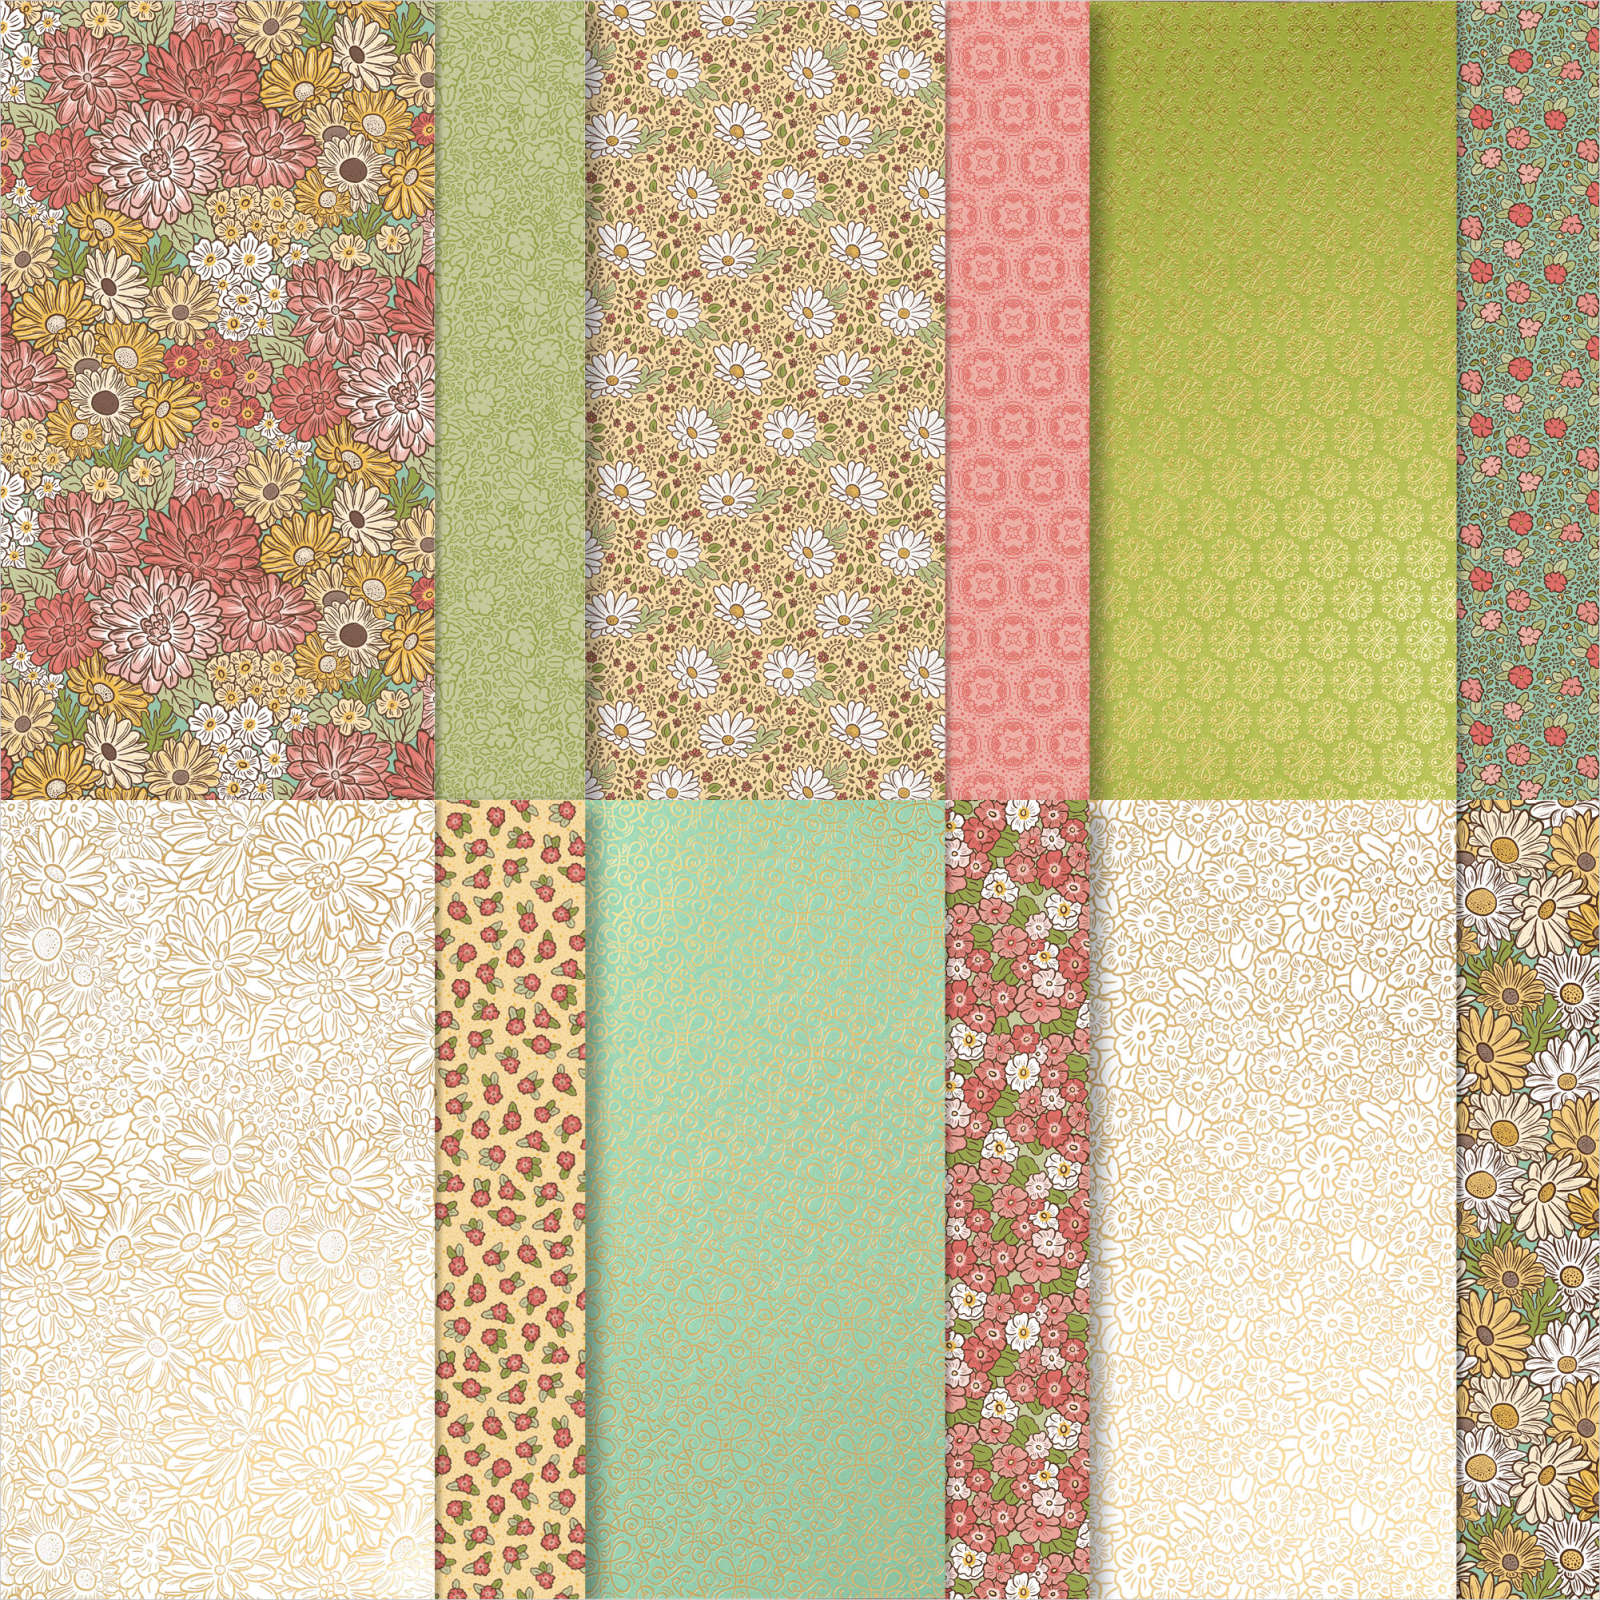
Today is the second day of the series featuring the Daisy Lane stamp set and coordinating Medium Daisy and Daisy Punch. All the cards today are using the Ornate Garden Specialty Designer Series Paper.
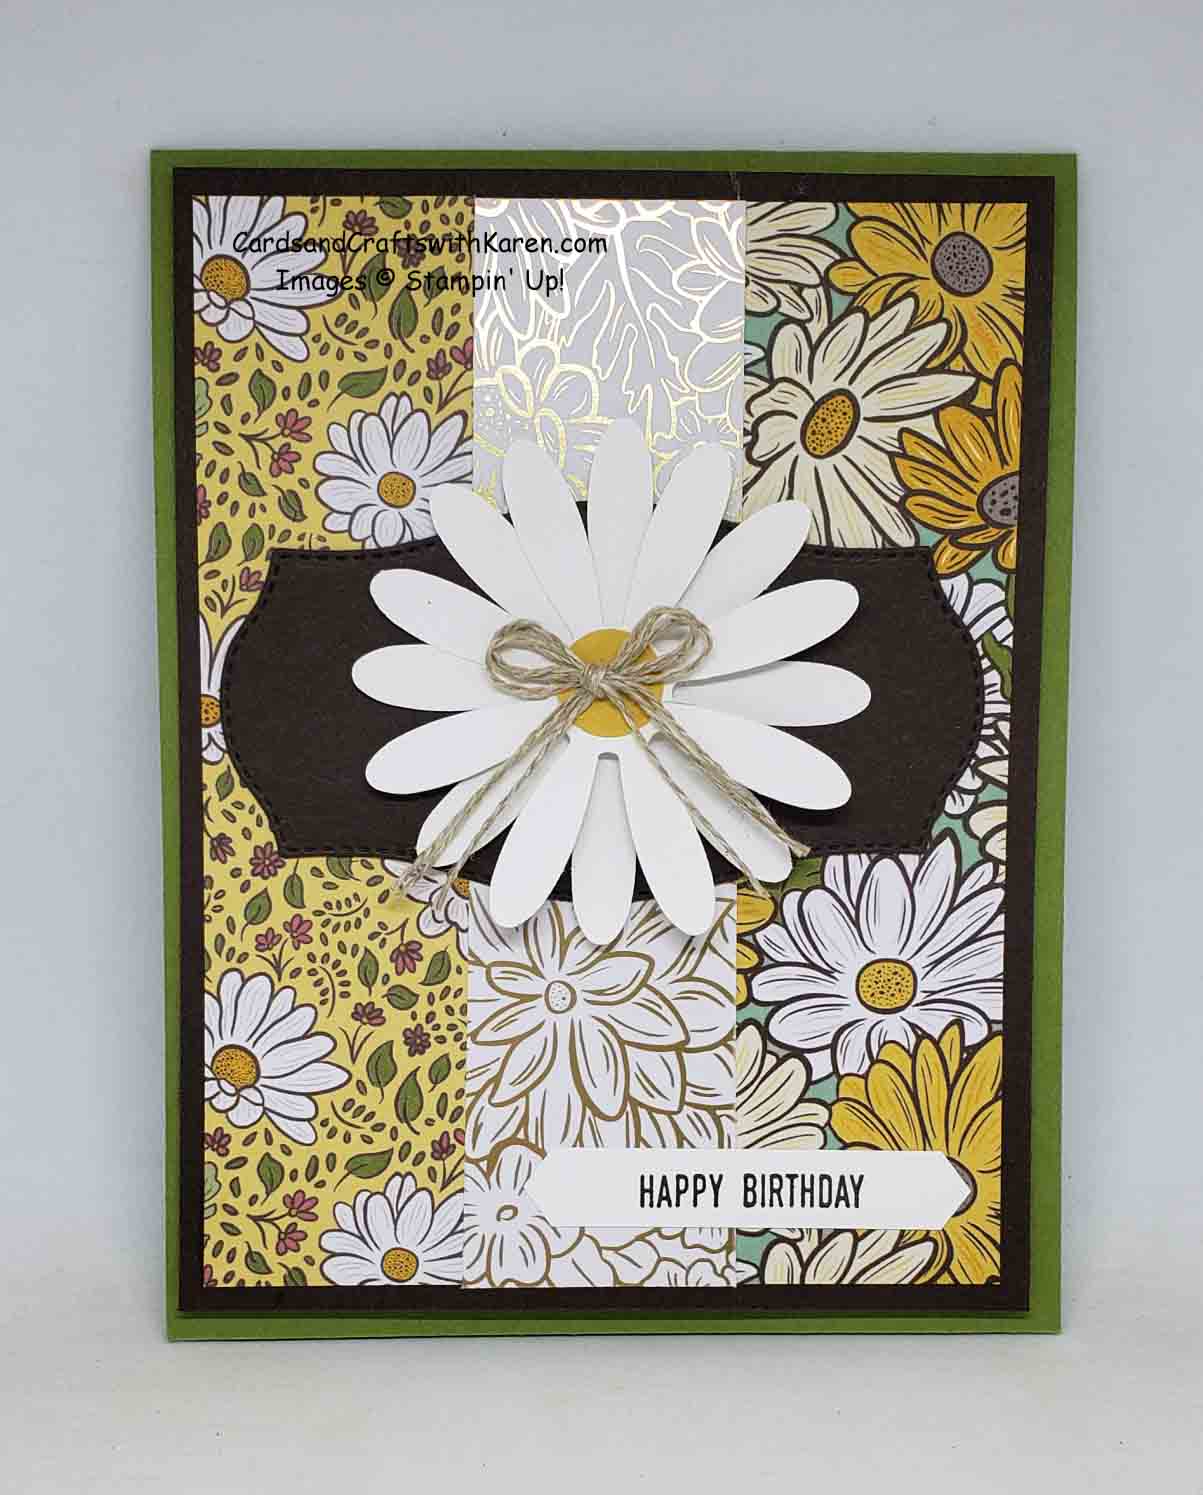
The first card for today features three strips of designer series paper, each 1¼” x 5″, adhered onto a mat of Early Espresso 4″ x 5¼” on a Old Olive Card base, coordinating colors from the designer paper. I’ve used one of the Tasteful Labels Die in Early Espresso to anchor the Whisper White Daisy, layered with Stampin’ Dimensionals. Greeting is from Itty Bitty Greeting and punch out with the Classic Label Punch. Finishing touch is a Three strain Linen Bow.
The next two cards are my take on recent Jennifer McGuire video’s from YouTube.
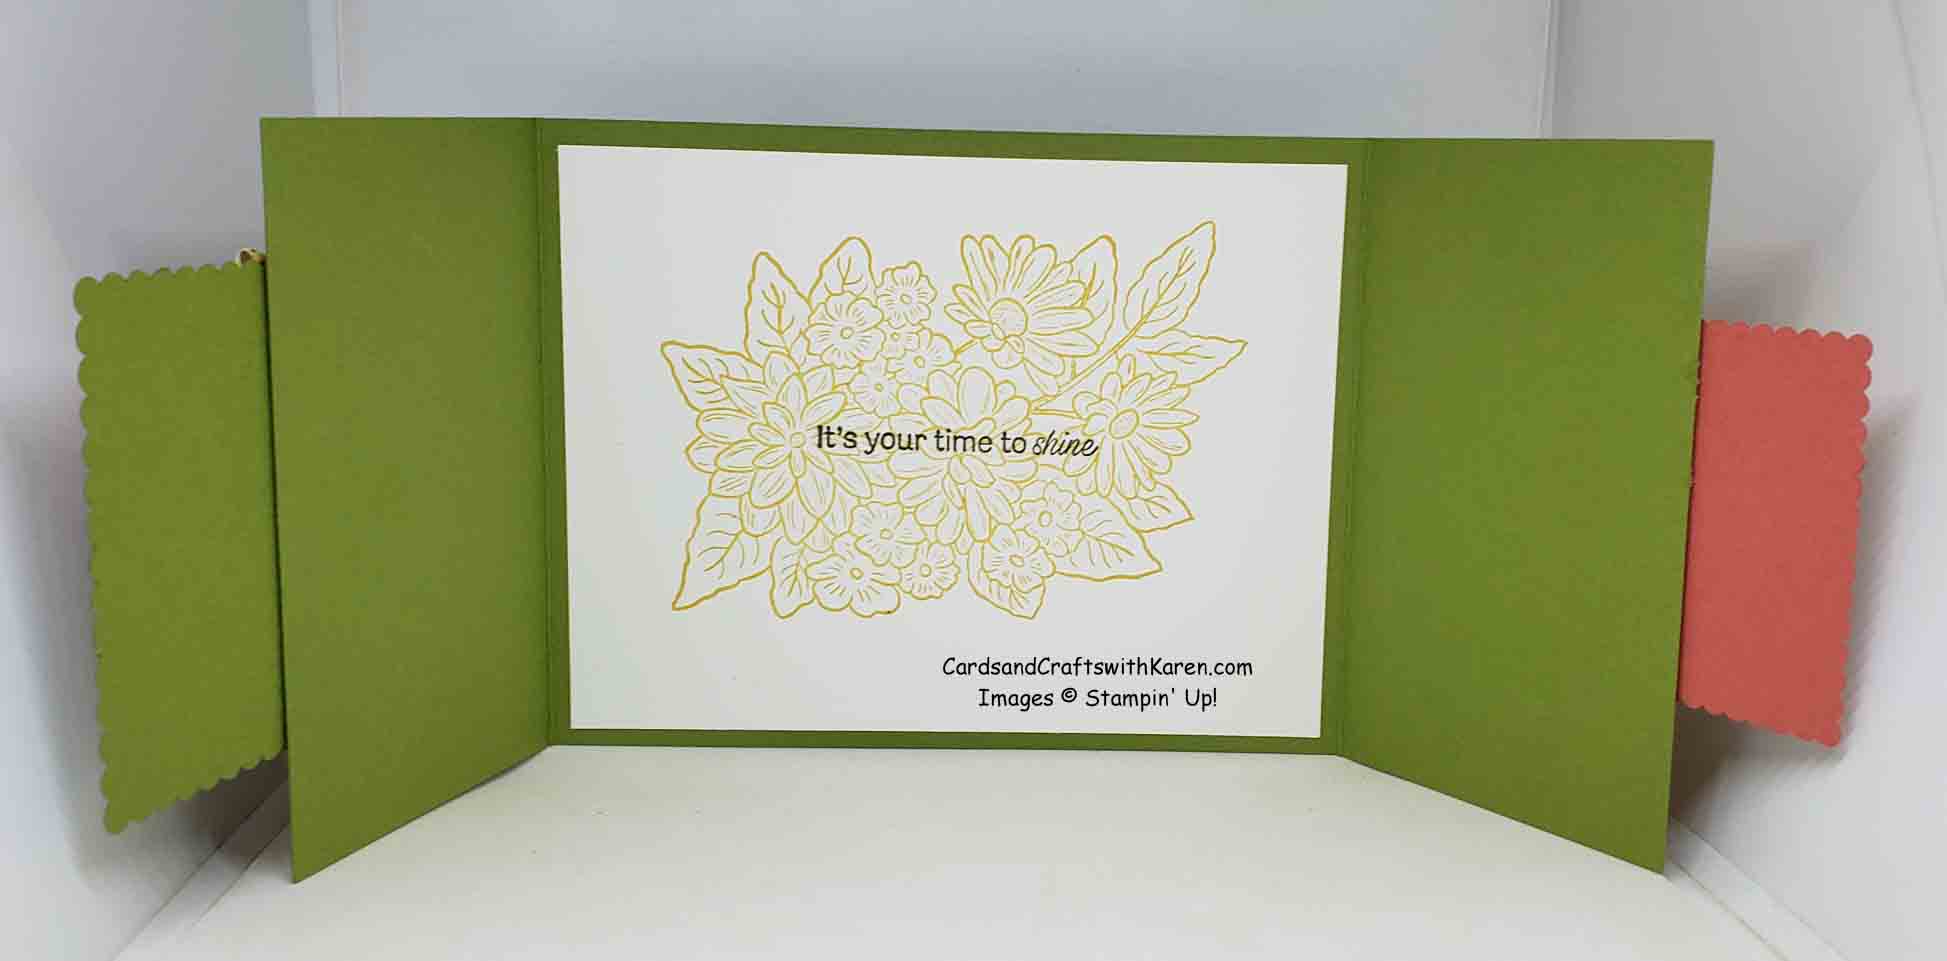
First is a Double Flap Gate fold card. The base starts as a 4¼” x 11″ piece of card stock scored at 2¾” on each end so that when folded the ends meet in the front. I’ve added designer paper (2½” x 4″) matted on Early Espresso card stock (2 5/8″ x 4 1/8″). On the front is a Scalloped Square in Old Olive with Whisper White square inside, this piece is adhered to the left front.
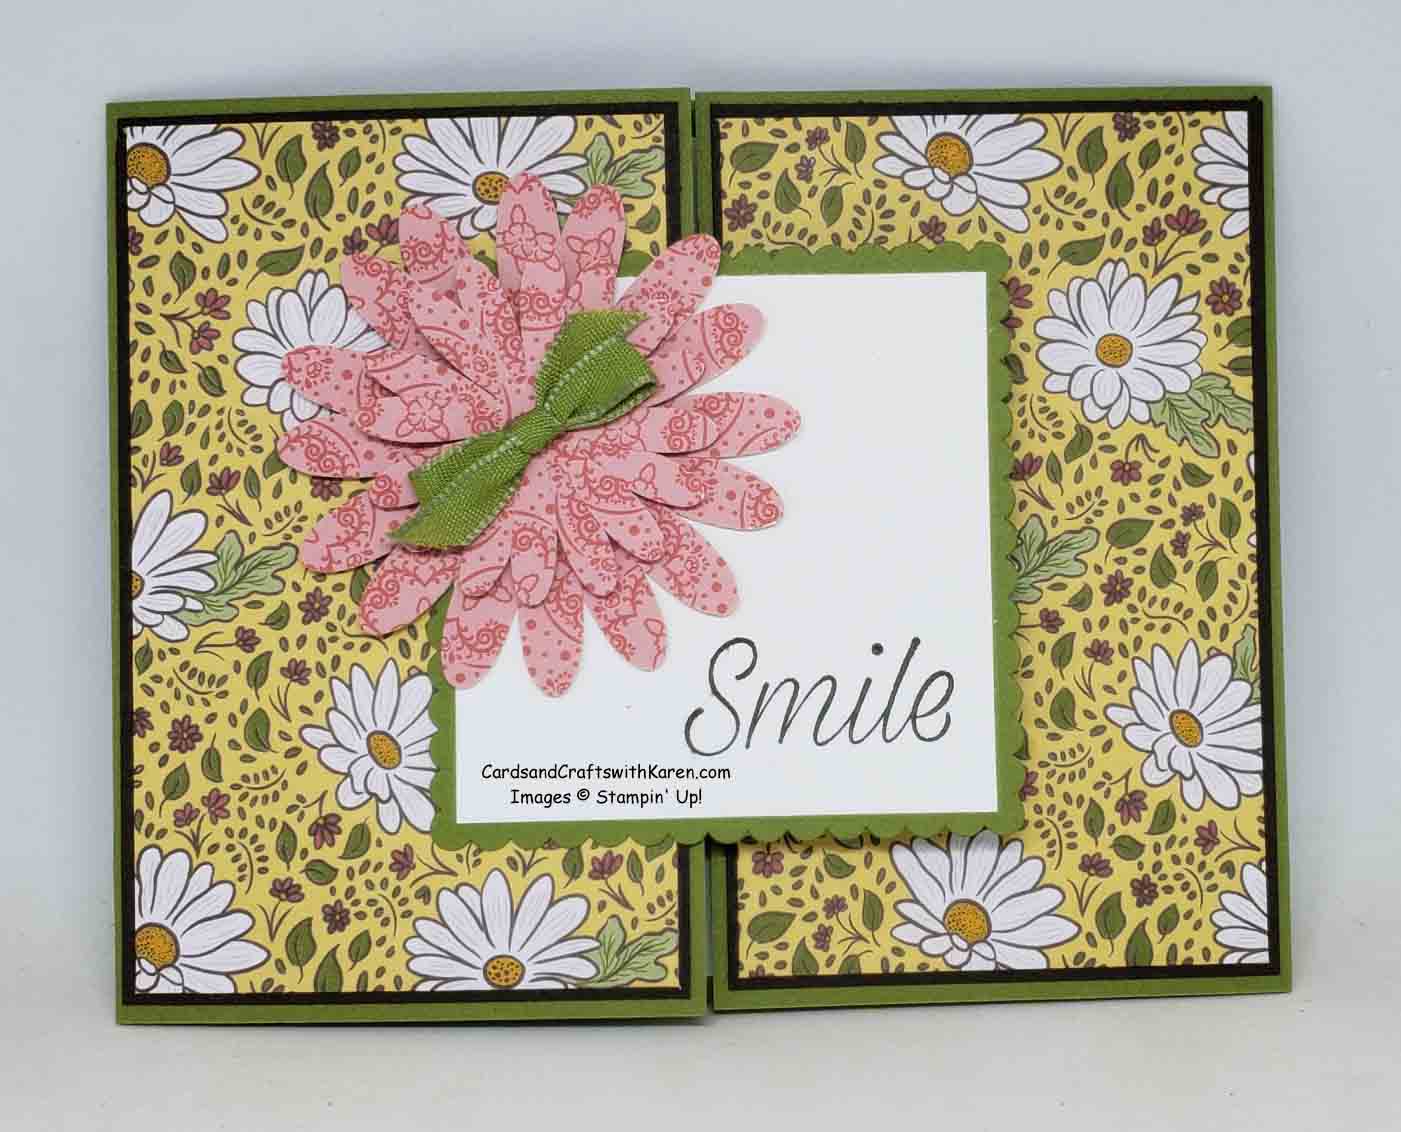
Then you die cut a second scalloped square and Whisper White inside – I suggest stamping images before adhering to the card – it’s better that way, ask me how I know (it’s why there is a daisy adhered). Make sure when adhering this square to the right front of the card you match it underneath the square from the front left.
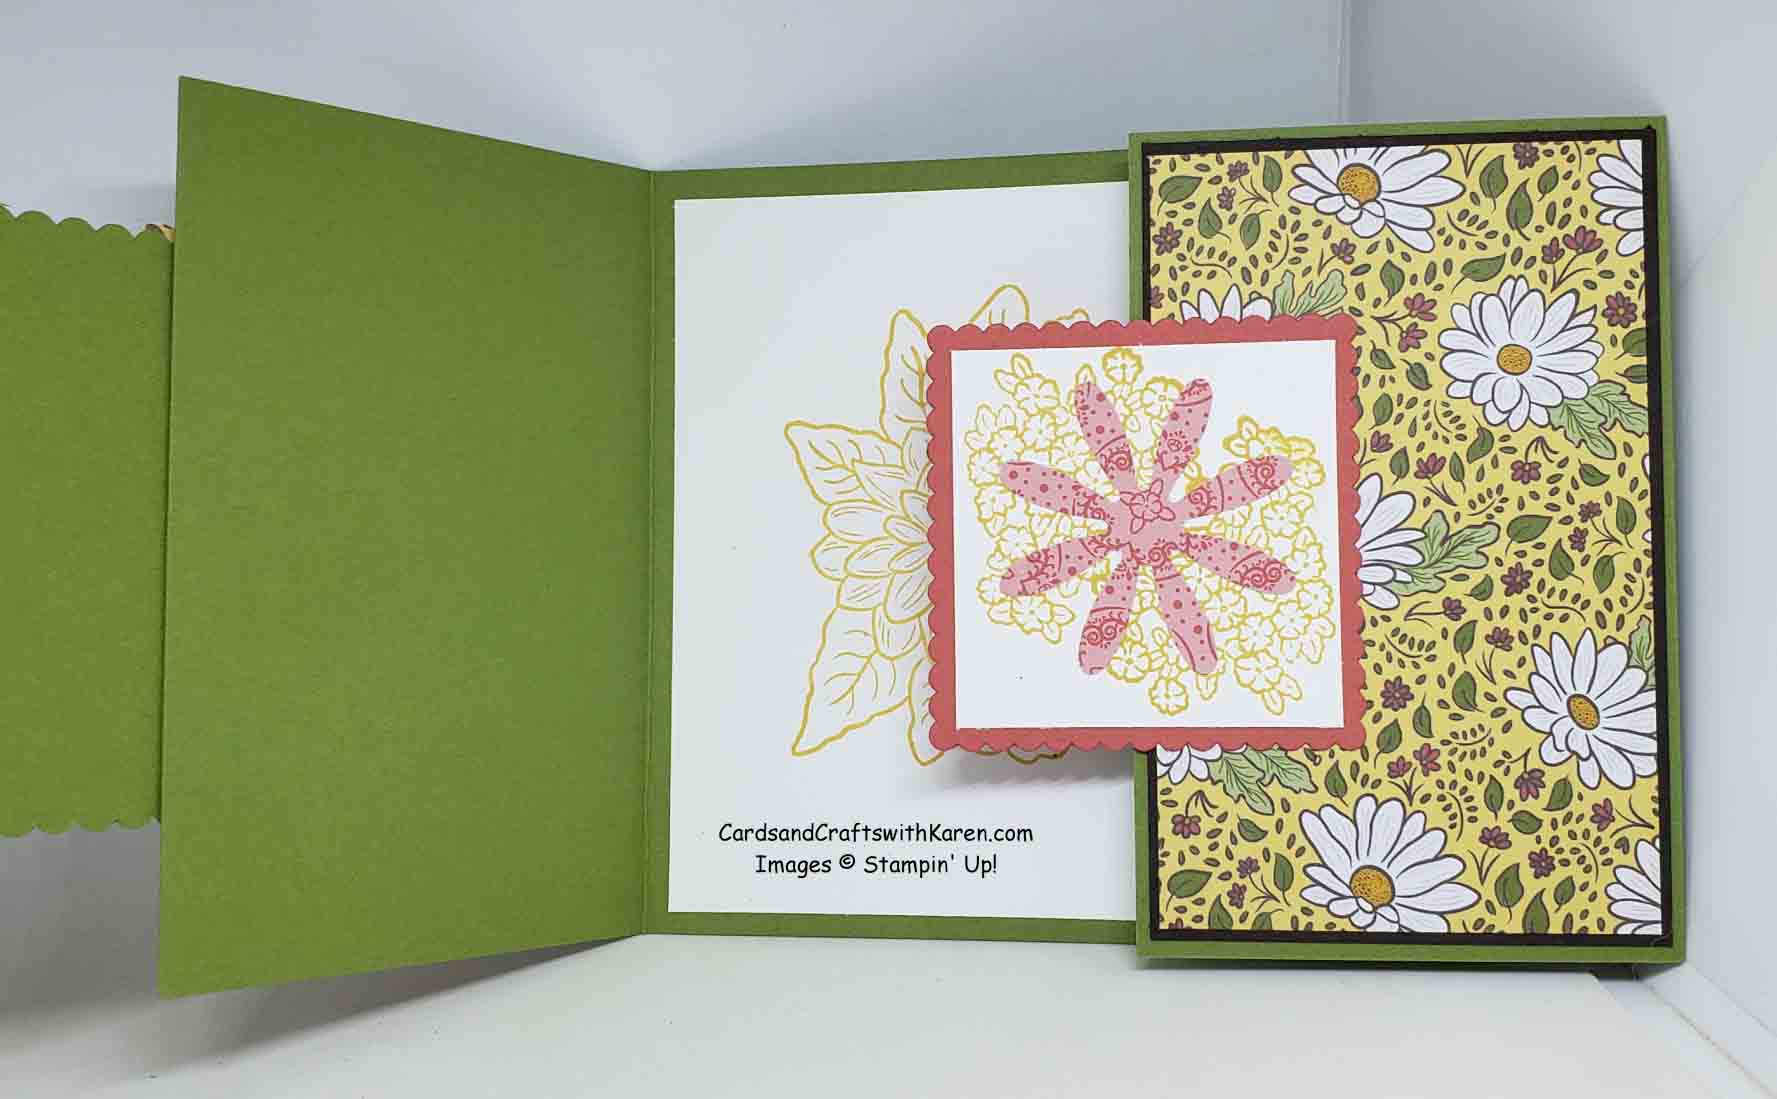
Here is the card open completely, center Whisper White is 4″ x 5¼”, stamped with a second generation image and full strength stamped greeting.
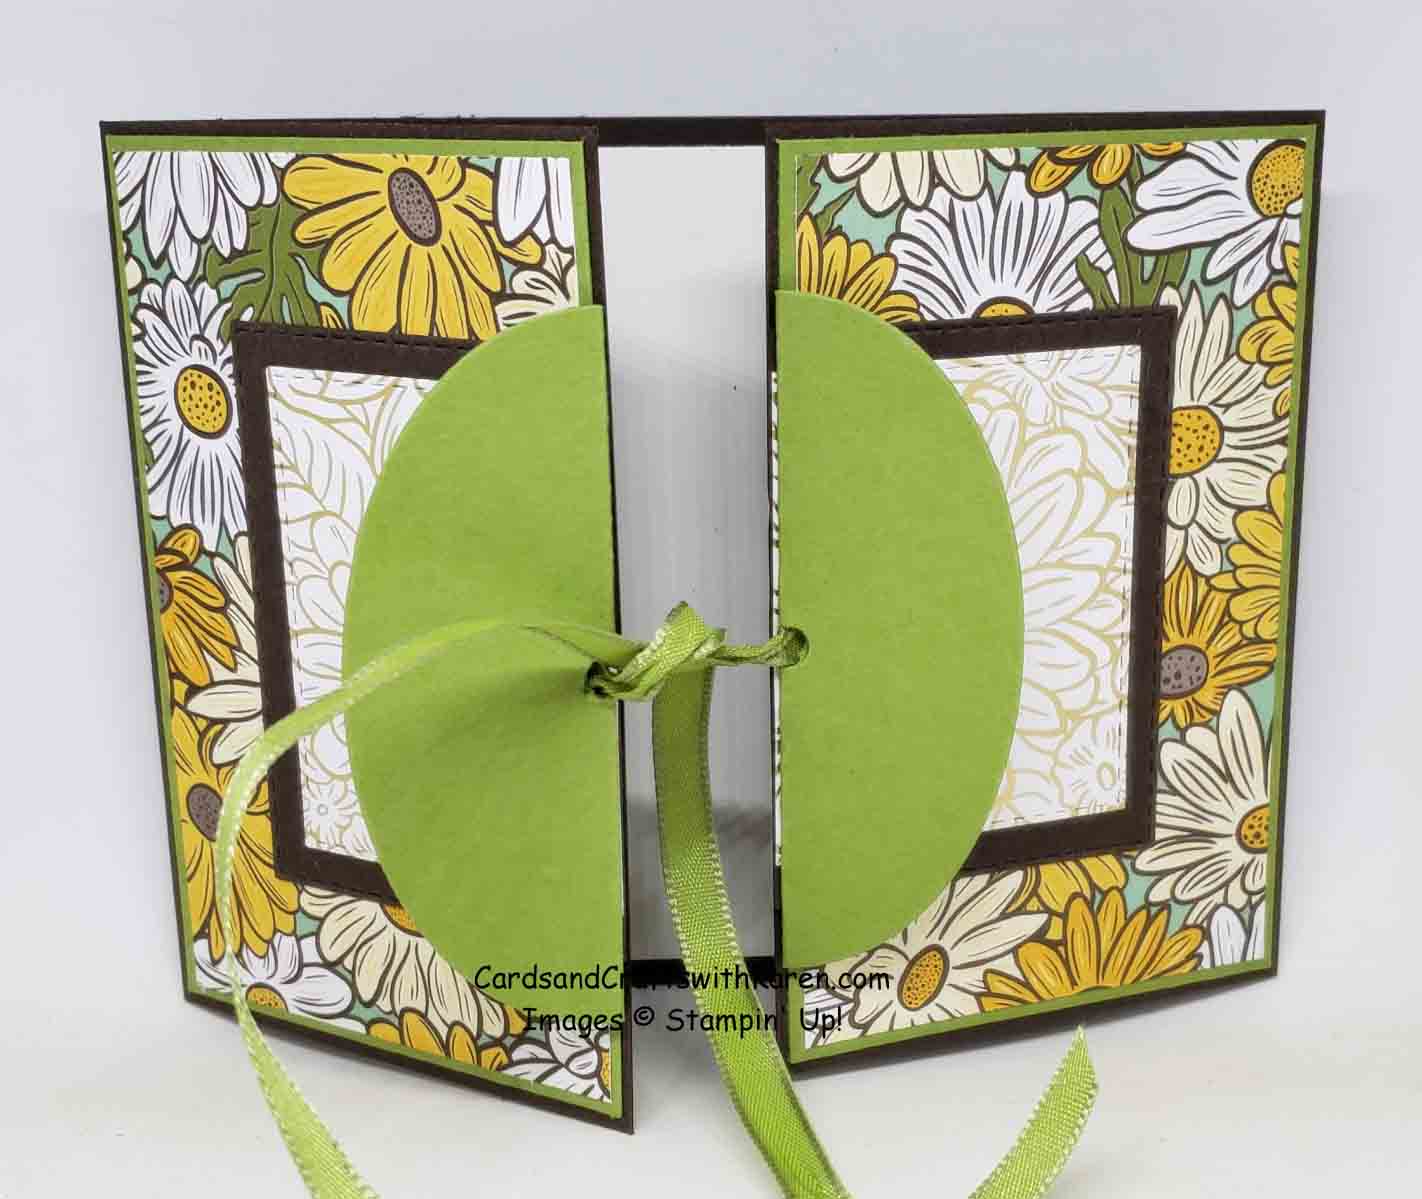
The second gate fold card starts the same way but has a ribbon closure – for this card the card stock/designer paper Stitched Rectangles adhered to the front are cut in half and adhered directly to the center. The Oval Dies (2), are folded in half, with a small circle punched out, ribbon is adhered to the card front first, then the oval and the ribbon is pulled through and tied in a bow.

Here is the card with the bow untied. Once I know the occasion the card will be used for I will stamp the inside.
Remember, these cards can all be made with your favorite stamp set, designer series paper and any occasion!
Thank you for taking the time to stop by today, hope this project has inspired you to try paper crafting. Have a great day – Craft On!
Follow me on Instagram @cqueen309 and on Facebook at “Cards and Crafts with Karen”.
Click on any of the images below for more product information and to order directly from my on-line store.
Reminder: If you earned bonus coupons July 1, 2020 – August 3, 2020 don’t forget to redeem the codes between August 4 -31, 2020 when placing your order.
When shopping check demonstrator contact, then I can happily send you a re-useable thank you card. For orders is over $150, please use all of the Host Rewards you’ve earned.
Current shopping code: UJWGHJFY
Happy Shopping!
