
Happy Friday! I’m enjoying a vacation day starting with a hair appointment for a color & highlight – always important to take time for yourself.
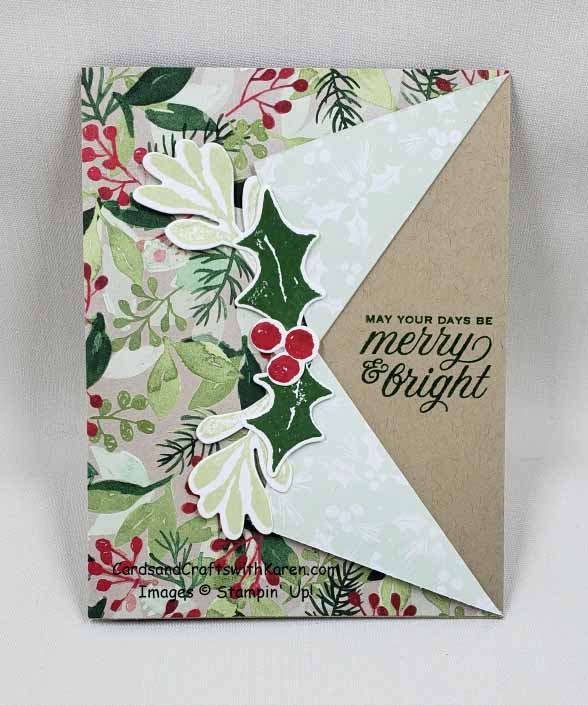
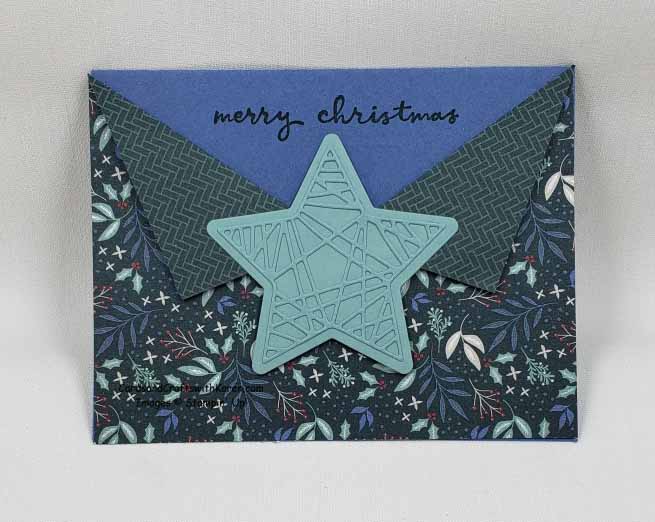
Today I have two “collar” cards for you. People call these cards “collar” because of how you turn down the paper at the cut line.
The measurements for the designer paper on both cards is the same, it’s the orientation of the paper that is different.
Card basics:
- Designer Series Paper cut to 4¼” x 5½”
- On one of the 5½” sides, measure down 2¾” and make a small tick mark
- At the tick mark, cut 2″ into the paper
- Fold back the cuts and use a Stampin’ Dimensional to hold each side down
- Add the Designer Paper to the card base
- Decorate as desired
First up is a vertical or portrait version of the card using the Painted Christmas Designer Paper and Christmas Season Bundle.
How about a horizontal or landscape version of the card using the Tidings of Christmas Designer Paper and Tidings & Trimmings Bundle.
Thank you for taking the time to stop by today, hope these projects have inspired you to try paper crafting. Should you decide to place an order for Stampin’ Up! products, I would appreciate your business.
Follow me on Instagram @cqueen309 and on Facebook at “Cards and Crafts with Karen”.
Click on any of the images below for more product information and to order directly from my on-line store.
Current Host code: GKQD2QBJ
When shopping my online store, check demonstrator contact, then I can happily send you a re-useable card and the rewards you qualify for the following month. Check out the rewards tab for more information.
For orders is over $150, please use all of the Host Rewards you’ve earned, and I’ll send you your rewards as long as you check demonstrator contact.
Have a great day – Craft On! Happy Shopping!
