Today I’m featuring the Twisted Ribbon Technique using three different Sale-a-Bration paper packs, but any designer series paper will work!
Here’s what you need:
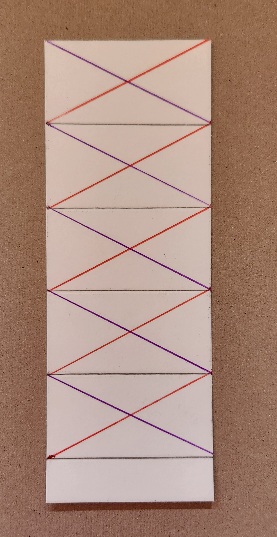
- Card stock – 2″ x 5½” (t0 adhere designer series paper to)
- score this card stock every inch (1″ – 2″ – 3″ – 4″ – 5″)
- Card stock mat – either 2 1/8″ or 2¼” x 5½”
- 12 strips designer paper ½” x 3″ (6 each of 2 patterns)
- At the end of the post is a photo to see how to adhere the designer paper.
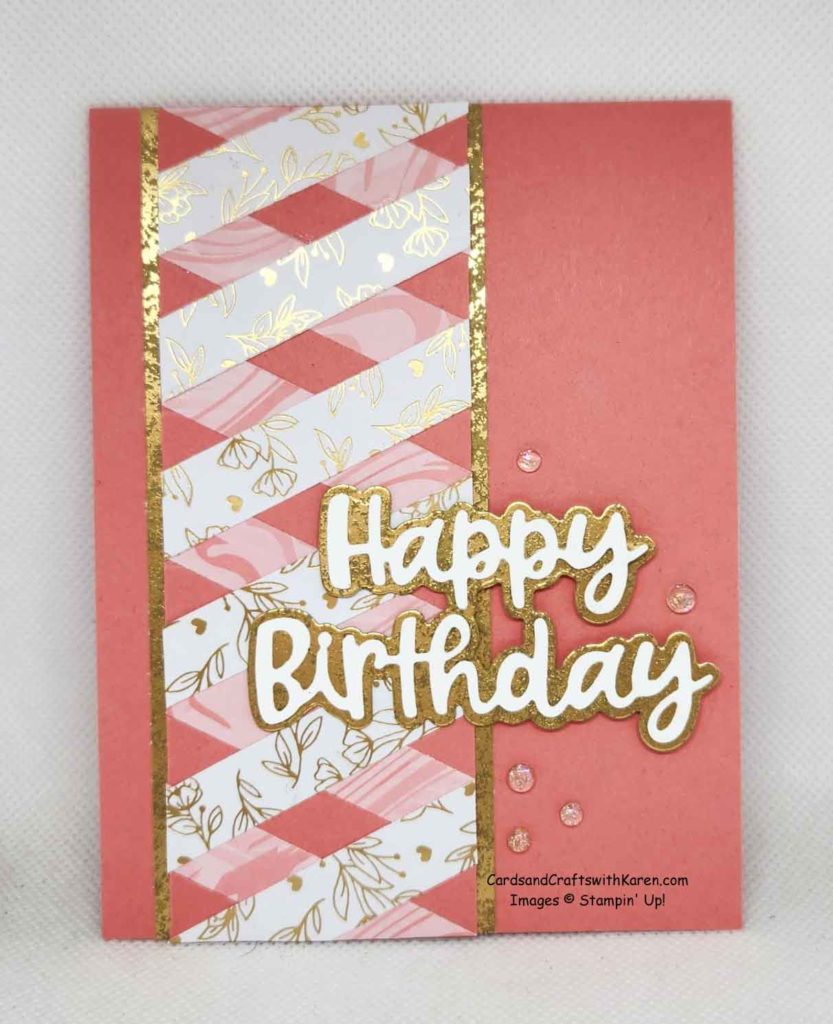
The first card features the Most Adored Designer Series Paper and Distressed Gold Specialty Paper. Each card features words from the Wanted to Say Dies.
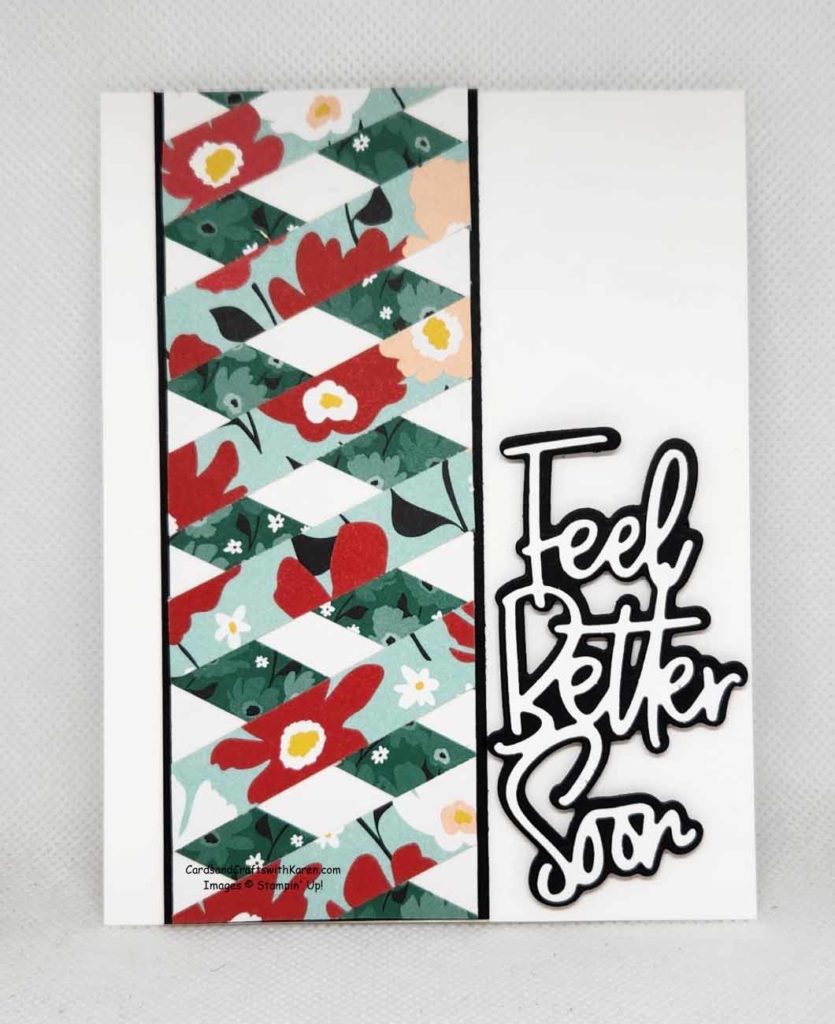
Next, this card features two of the image prints from the Sunny Days Designer Series Paper. Here I cut the strips horizontally vs. vertically like the other cards.
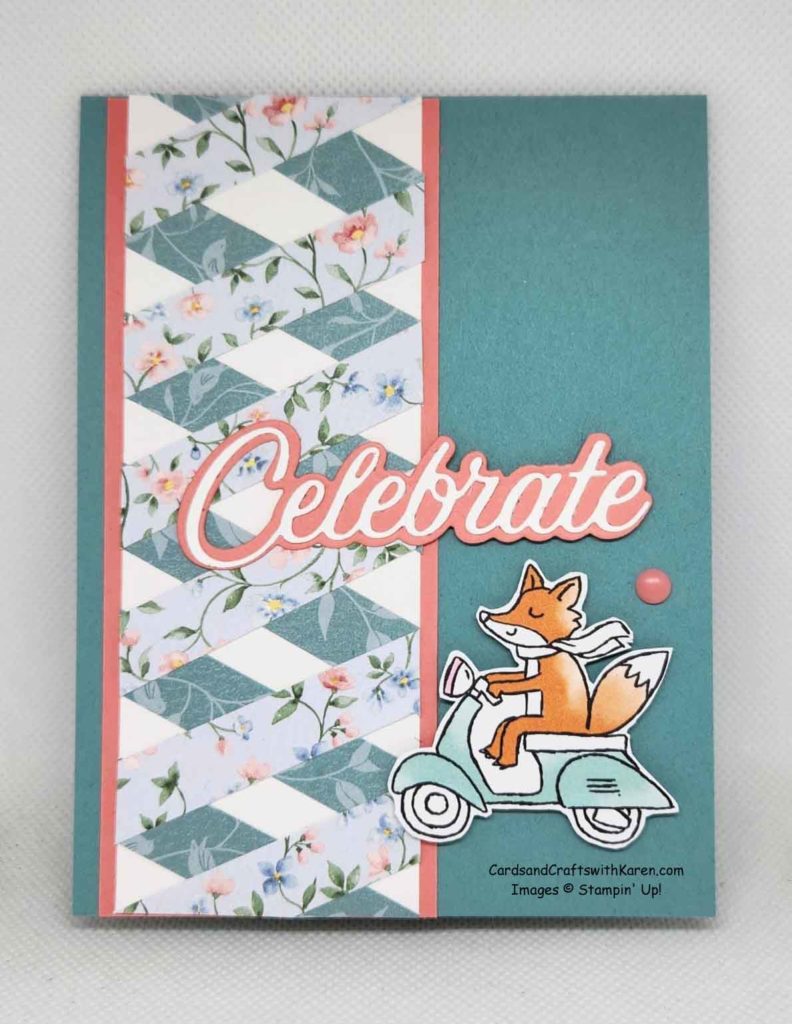
Final card features the Flight & Airy Designer Series Paper along with image from the Zoo Crew (annual catalog) Designer Series Paper.
Thank you for taking the time to stop by today, hope these projects have inspired you to try paper crafting. When you decide to place an order for Stampin’ Up! products, I would appreciate your business.
Follow me on Instagram @thomas_karen_309 and on Facebook at “Cards and Crafts with Karen”.
Shopping code through March 17, 2024 – 3YJAVESW
All on-line product orders over $75 USD through February 29, 2024 and receive a package of embellishments from the annual catalog as a thank you from me, mailed out in March 2024.
If your order is over $150, please use all of the Host Rewards you’ve earned, and I’ll send you your rewards as long as you check demonstrator contact.
Remember, when shopping at my online store, check demonstrator contact, then I can happily send you a re-useable card and the rewards you qualify for the following month.
Check out the Shop & Rewards tab for more information.
Have a great day – Craft On! Happy Shopping!
Here is how to add the designer paper. Scores are horizontal lines, purple and red lines are where the designer series paper is added, match the bottom of the cut paper. You will need to add small pieces to either the top or bottom to finish the “twisting”.


