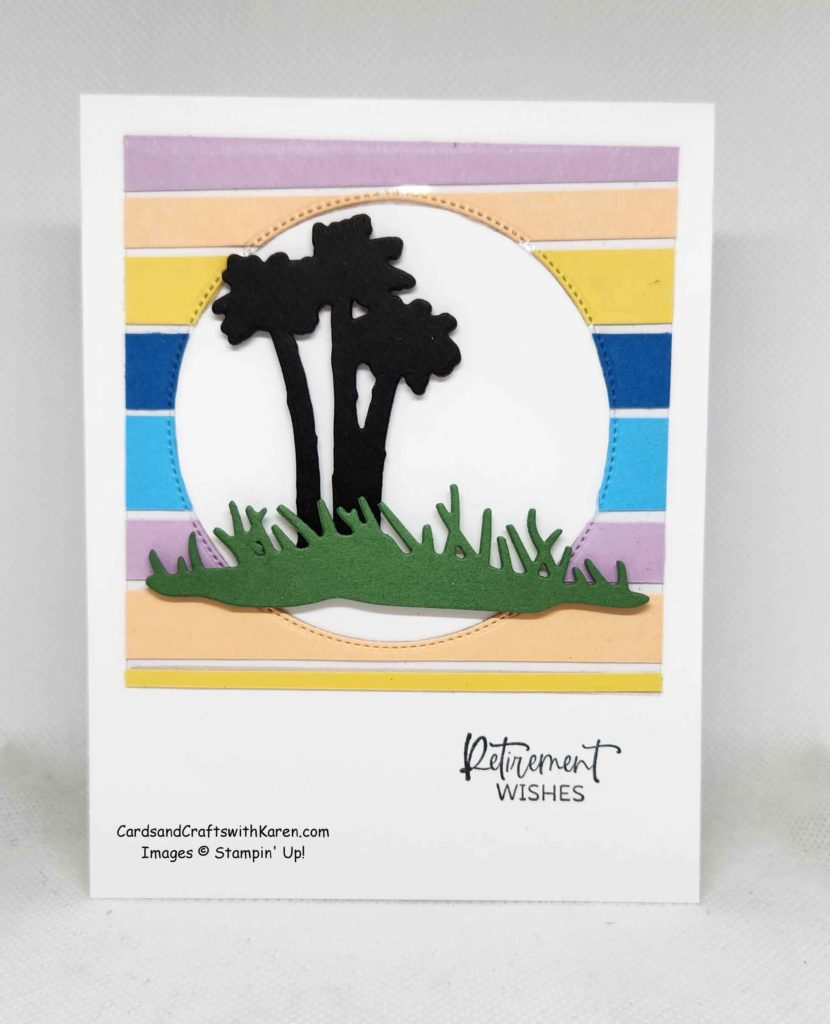
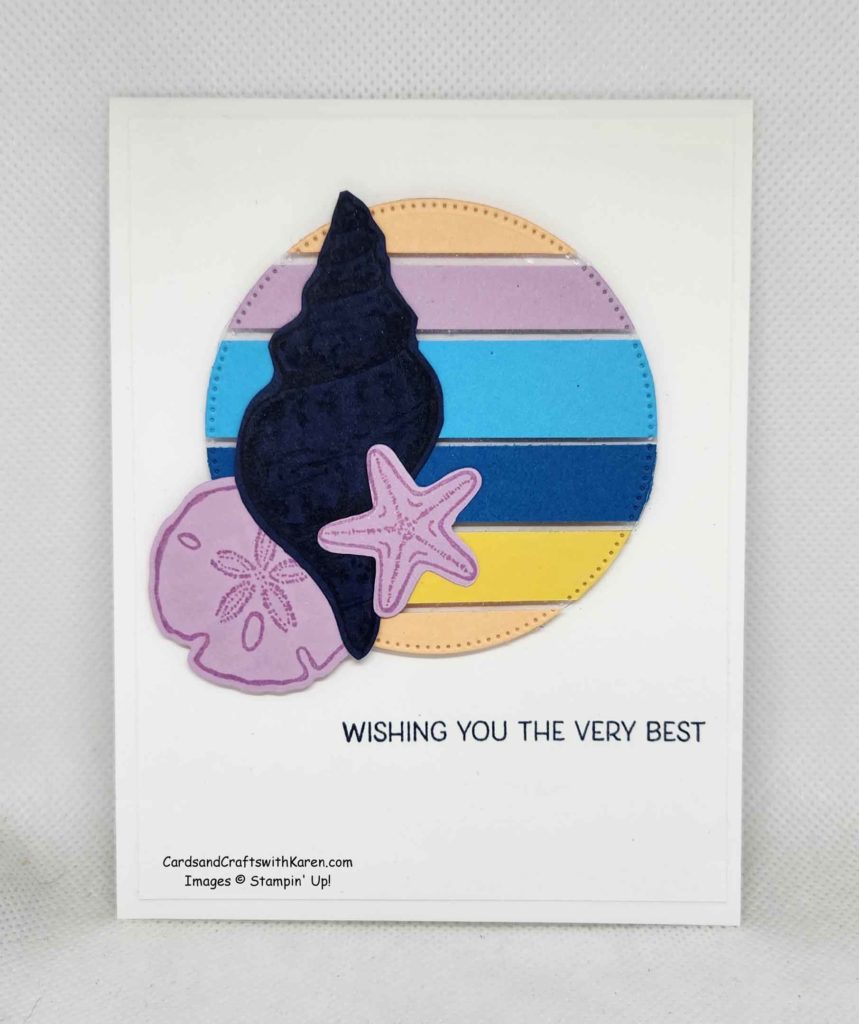
Today I’m sharing a Floating Strips card, where you get 2 cards from your focal image.
Here’s how to create the focal image:
- Strips of various colors of card stock or even designer series paper
- Piece of Window Sheet, my card used a 3¾” x 3¾” square
- Add the strips (use seal+ or tear & tape) of paper to the window sheet, leaving a small space between each
- Now pick a die cut shape and die cut from the middle (may need to make a few passes to get a good cut since window sheet and card stock layered together)
- Add die cut shape to one card front and negative space to another card base either directly or with Stampin’ Dimensionals
- Add die images and greeting to finish the card
The first card using the negative space for the background with a palm tree and grass die cuts added. Any greeting works with the card. I recommend using a dark ink that coordinates with the die cuts.
For this card I’ve added the circle die cut to a Thick Basic White card base and seashells. Images stamped using the Friends are like Seashells stamp set and Seashell Dies.
Thank you for taking the time to stop by today, hope these projects have inspired you to try paper crafting. When you decide to place an order for Stampin’ Up! products, I would appreciate your business.
Follow me on Instagram @thomas_karen_309 and on Facebook at “Cards and Crafts with Karen”.
Click on any of the images below for more product information and to order directly from my on-line store.
Current Shopping code: T9SMZRJE
When shopping my online store, check demonstrator contact, then I can happily send you a re-useable card and the rewards you qualify for the following month.
For orders is over $150, please use all of the Host Rewards you’ve earned, and I’ll send you your rewards as long as you check demonstrator contact.
Check out the Shop & Rewards tab for more information.
Have a great day – Craft On! Happy Shopping!


